How to Sell Livestock and Send Invoices
Record a sale in Livestock Manager and it does three jobs at once. It names the buyer, removes the sold animals from the batch, and adds the income to your Finances. You can then turn the same sale into an invoice, send it as a PDF and mark it paid.
Who it's for: owners and managers (Admin or Manager role) who sell animals, eggs or milk to named buyers. Plan: recording sales is not restricted by plan; invoices need the Growth plan or higher. Time: about 5 minutes.
What you need first
- A farm with at least one batch of the animals you are selling.
- The buyer's name. A phone number or email is useful but not required.
- The price you agreed for one animal or unit.
Step-by-step
Step 1: Open Sales
Tap "More...", then "Selling", then "Sales". The list is empty until you record your first sale. Tap "New Sale".
Step 2: Add the buyer
The buyer field is optional, but a named buyer builds a history you can look back on. If the buyer is new, tap "Create Contact". Type a name and, if you have it, a phone number or email, then tap "Create Contact" again. The sale picks the new buyer for you, and they are saved in your contacts for next time. The free plan holds 5 contacts per farm; a sixth needs the Growth plan.
Step 3: Describe what you sold
Under "Line Items", write a description the way you would on a receipt, such as "2 young bucks". Choose the batch they came from with "Select Batch".
If the batch tracks individual animals, tap "Select Members" and tick the exact animals that left. The quantity fills in for you. Then type the unit price. The line total is worked out from the price and quantity. Choose the unit after you pick the batch, because picking a batch can reset it. Tap "Add Another Item" if the same buyer took something else, such as eggs.
Step 4: Save and create the invoice
"Record Income" is on by default. Leave it on and the money goes into Finances by itself. Check the "Total Income" figure, then tap "Save & Create Invoice". If you do not need an invoice, use the regular save button instead.
Step 5: Create the invoice
The invoice opens already filled in from the sale, with the buyer as the customer. Add a due date, tax or a discount if you need them. Tax and discount are flat amounts, not percentages. Tap "Create Invoice". It is saved as a draft.
Step 6: Send it and mark it paid
Open the draft and tap "Send Invoice". Your phone's share sheet opens with the PDF, so you can send it by WhatsApp, email or print it. Once it has been shared, the invoice is marked Sent. If you close the share sheet without sending, the invoice stays a draft. If you only want the file, "Share PDF" does the same without changing the status.
When the buyer pays, open the invoice and tap "Mark as Paid". The button appears only after the invoice is Sent, and the app asks you to confirm. Accountants can mark invoices as paid too. To see who still owes you, go to "More...", "Selling", "Invoices" and filter by "Unpaid".
Step 7: See where the sale shows up
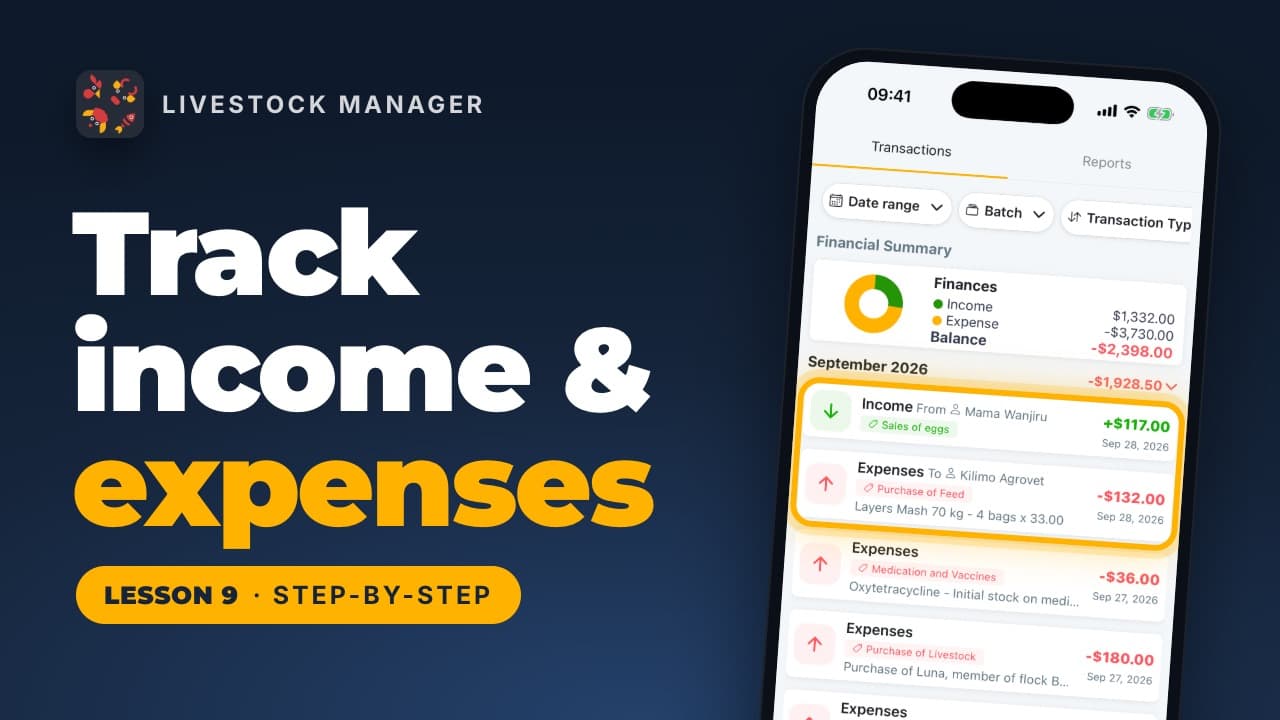
Open "More...", "Selling", "Sales" and tap the sale. Each sale gets a number and shows the buyer, the items and the animals that left, with links to its income and its invoice. Then open "Finances" to see the income. Open "Batches" to see the smaller headcount on the batch card.
Common mistakes
- Leaving the unit blank. Choosing a batch can reset the unit. Pick the batch first, then the unit.
- Skipping the buyer. The sale still saves, but you lose the buyer's history and cannot invoice a customer you have not chosen.
- Entering tax as a percentage. Tax and discount on an invoice are flat amounts.
- Expecting invoices on the free plan. Saving an invoice needs the Growth plan or higher. Sales themselves are not restricted.
- Entering a phone number twice. Saving a contact with a phone number you already used updates that contact instead of creating a new one.
For ideas on where to sell, see selling farm products directly.
Frequently asked questions
How do I record the sale of an animal?
Go to More..., Selling, Sales, then tap New Sale. Choose the batch, pick the animals that left, enter the price and save. The animals are taken out of the batch count.
Can I send an invoice from my phone?
Yes. Open the invoice and tap Send Invoice. Your phone's share sheet opens with the PDF, so you can send it by WhatsApp, email or print it.
Do I need a paid plan to record sales?
No. Recording sales is not restricted by plan. Invoices need the Growth plan or higher.
How do I see which customers have not paid?
Open More..., Selling, Invoices, and filter the list by Unpaid. Draft and Paid filters are next to it.